Install Read&Write Software
Install Read&Write Software on ANY device
St. Louis Community College makes available “Read&Write” to all students. To download this software, please follow the steps listed below. If you have borrowed a school laptop from the library, these instructions will not work. School laptops require IT to install the software. Contact IT (314-539-5113)
- On your computer, open a browser and navigate to the Read&Write Student Resources Page.
- Select the appropriate installer.
- After a successful install, launch the software.

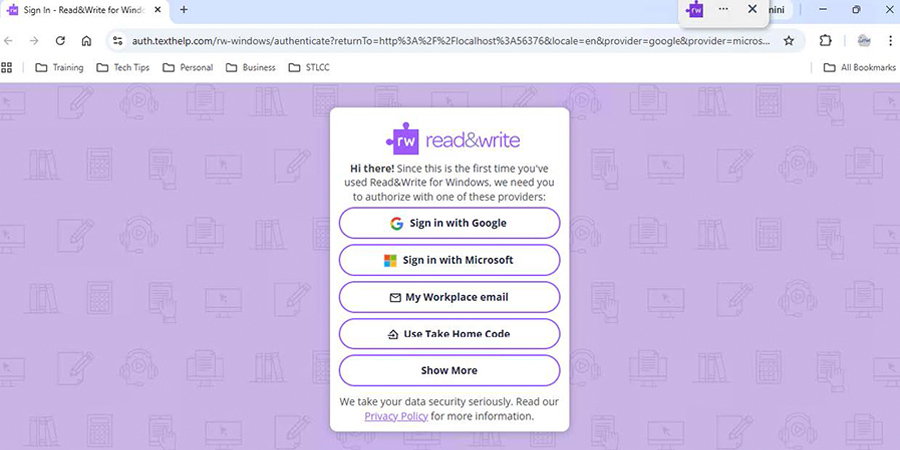
- After launching the software select the Read&Write icon in the top corner of the screen.

- A web browser will open. Select “Sign in with Microsoft.”
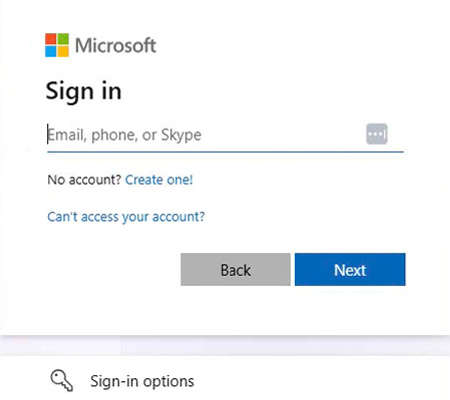
- Enter your STLCC email address and password.
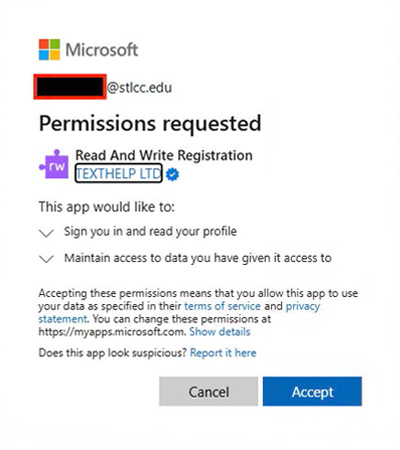
- Select "Accept" on the next screen.
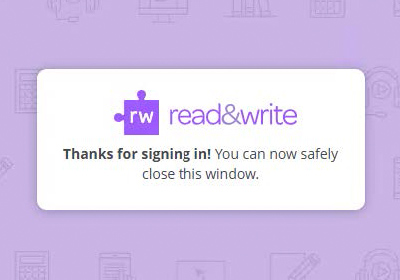
- Read&Write is now activated.


Wait, you don’t know how to use Read&Write? Watch these short Youtube tutorials that are extremely helpful, and will demonstrate to you how to use the features in this AWESOME software package! It’s really THAT simple!
Changing Settings in Read&Write
When the toolbar appears on the desktop click on the dropdown arrow next to the purple icon (see above). Choose General Options:
Here you can change how Read&Write appears to you. I personally like the Professional toolbar and small icons with text. When you have chosen how you want your toolbar to appear, click OK. Then left click AND HOLD anywhere in the toolbar and ‘drag’ it to the top of your desktop. The toolbar will ‘dock’ and stay at the top of your screen. That’s it! Read&Write is ready to go!!