Install Read and Write Software
Install Read and Write Software on ANY Windows computer
Log in to your PC and look for the app store icon It may be on your task bar at the bottom of your screen, or you may have search in your Start menu.
In the search box type “read and write” and a list should pop up. Choose the purple puzzle piece that is Read&Write for Windows US English There are other versions that may perform differently on our systems.
When you click on the Read & Write for Windows US English icon you will be presented with a description of the software in a new window. Click on the blue “Get” button.
After you have clicked on the Get button, you will be asked if you want to sync this across all your devices, click Skip. The software will download. It is a large program, and it will take a few minutes to download.
When it is done downloading it will automatically install. This whole process should take approximately 5-10 minutes depending on your internet speed. When the install is finished, you should see a message stating that installation is complete, and you can Launch Read and Write now. Click Launch.
At this point Read and Write SHOULD launch and present you with a tool bar at the top of your desktop screen. Frequently though the program launches in minimized mode. Look at the top of your PC screen and you will notice the RW toolbar ‘flag’ just hanging out there.
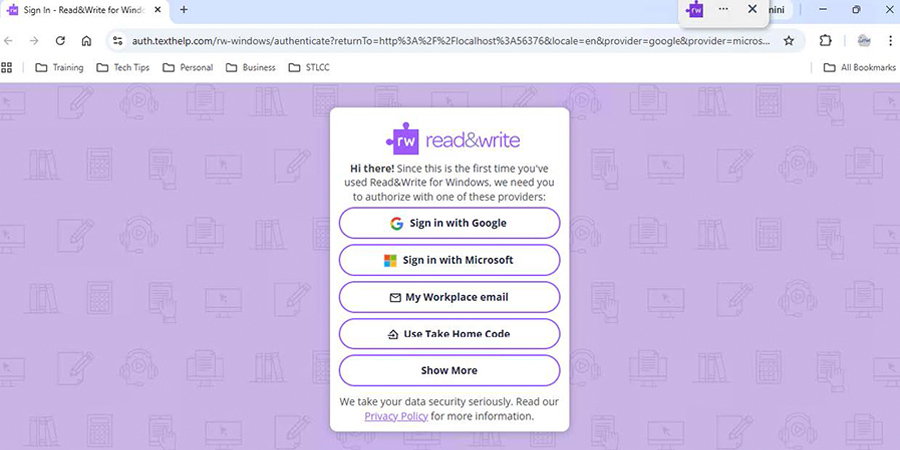
Double click on the flag, and Read and Write will open. You will be prompted to register this software.
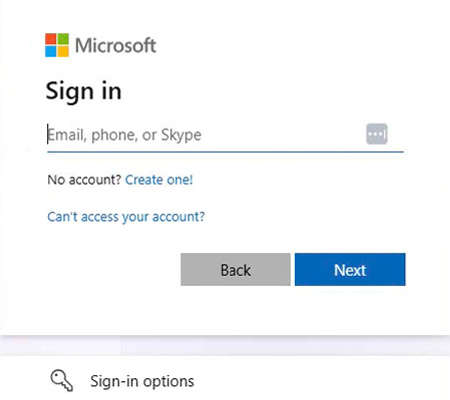
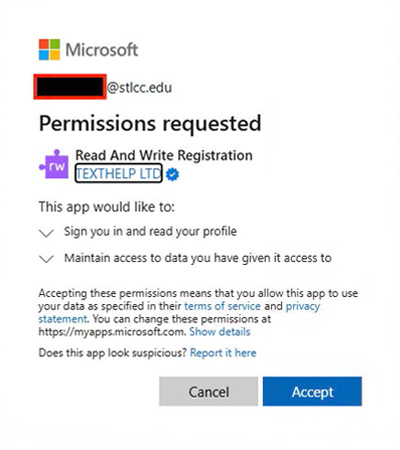
Click on the Sign in with Microsoft button. If you are using an STLCC loaner laptop, you won’t need to do anything, the software will automatically register you and launch. If you are on a personal PC, then enter your school email address and password when prompted. This step is necessary to verify that you are eligible to use the software. As long as you are a student at STLCC you are eligible to use this software for free.
If you’ve used Read and Write before you will notice a real change in the toolbar. It is MUCH easier to use now. Everything is on one toolbar. There is a settings menu on the far right. It has the three horizontal lines.
Click it, then choose “Show more settings”
When you click on Show more Settings you get the ALL options box. On the left you see the various options available, and on the right are the ways you can change it. You can change the toolbar color, the size of the buttons, color of the buttons. You can even choose to have Read and Write launch when Windows starts up.
Wait, you don’t know how to use Read and Write? Just click on this link to watch a short Youtube video that is extremely helpful, and will demonstrate to you how to use the features in this AWESOME software package! It’s really THAT simple!
Changing Settings in Read & Write
When the toolbar appears on the desktop (please ignore my crazy desktop photo! It’s another story, ask and I’ll tell!) it should look a lot like the toolbar above. Click on the dropdown arrow next the purple RW icon (see arrow above). Choose General Options:
Here you can change how Read and Write appears to you. I personally like the Professional toolbar and small icons with text. When you have chosen how you want your toolbar to appear, click OK. Then left click AND HOLD anywhere in the toolbar and ‘drag’ it to the top of your desktop. The toolbar will ‘dock’ and stay at the top of your screen. That’s it! Read and write is ready to go!!
Wait, you don’t know how to use Read and Write? Just click on the little dropdown arrow next to each icon and watch the short video, it’s that simple. The video will open and give a demonstration on how that particular function works. It’s really THAT simple!