Using Read and Write
Changing Settings in Read & Write
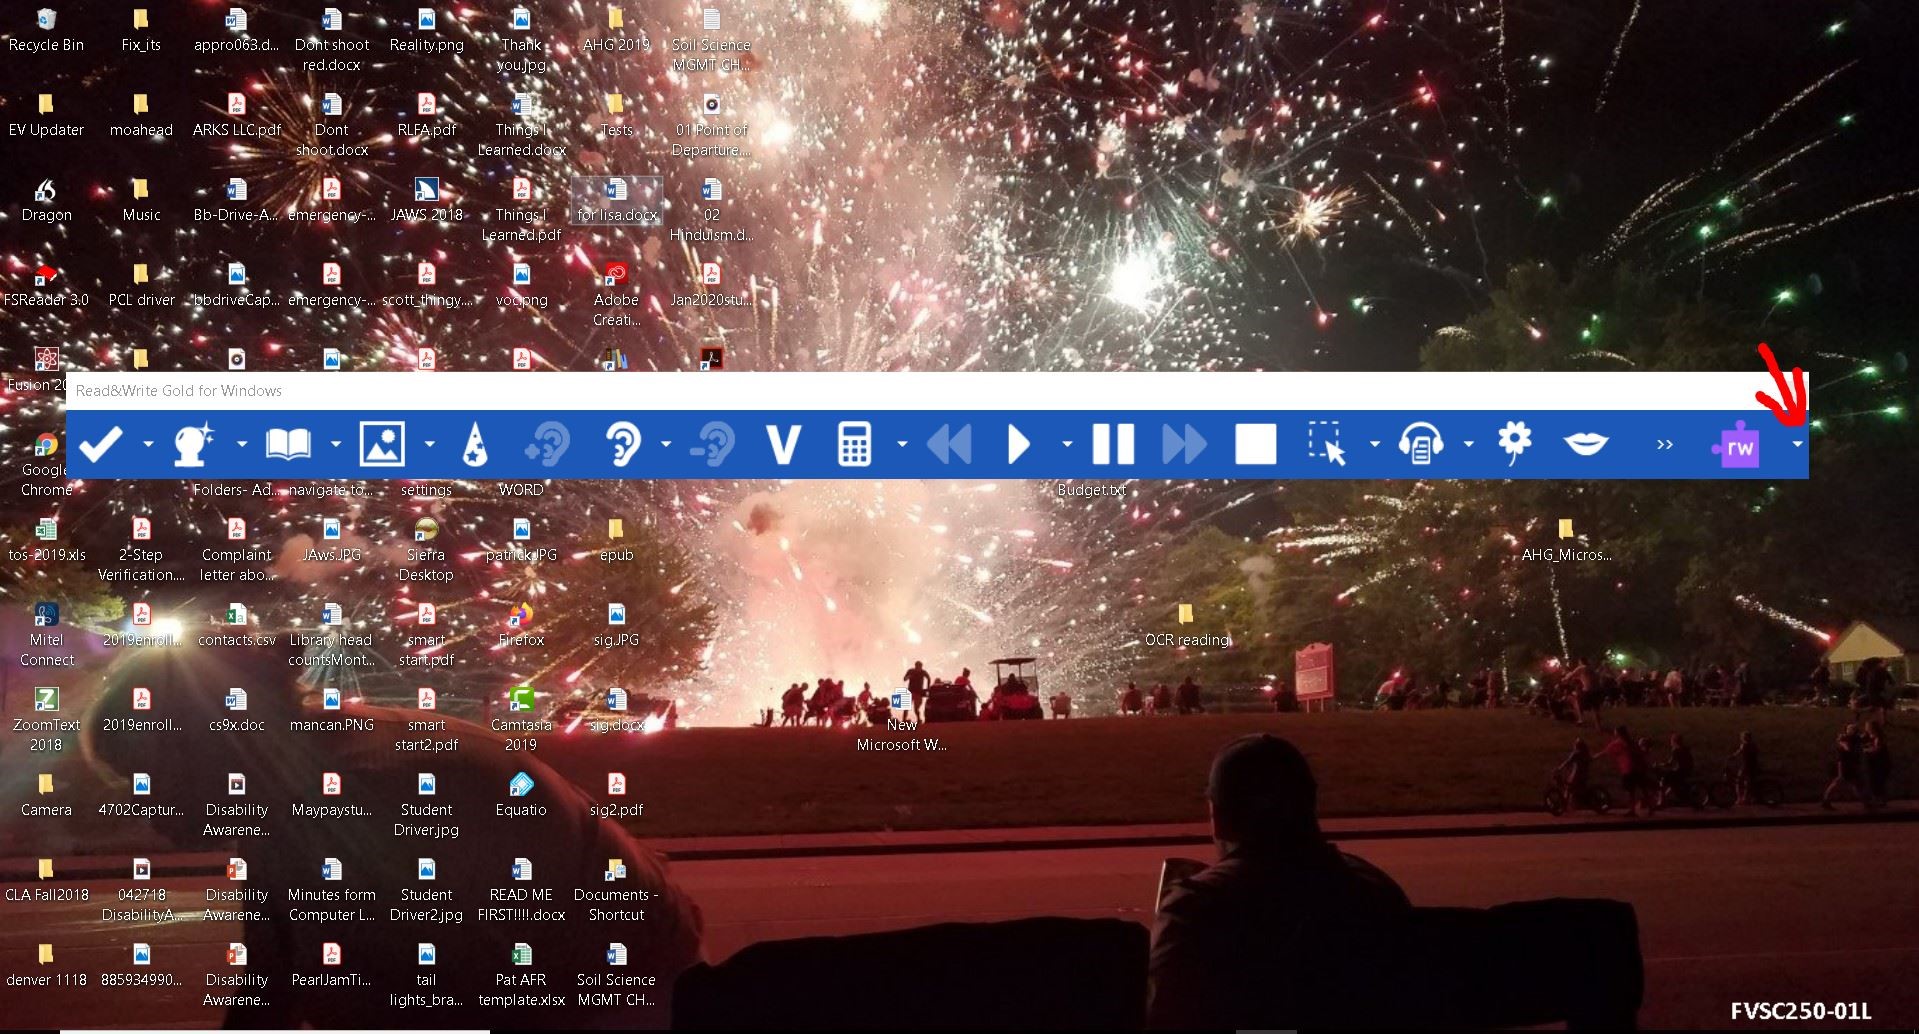
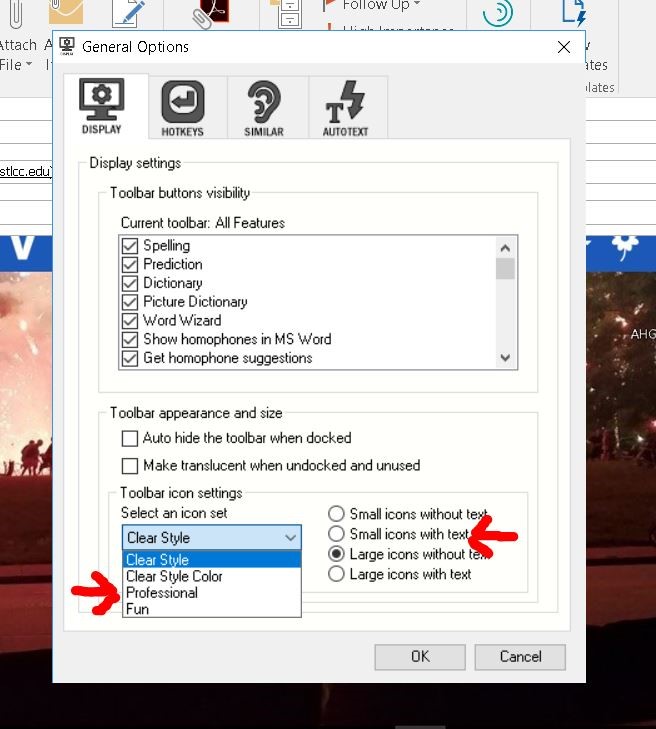
When the toolbar appears on the desktop (please ignore my crazy desktop photo! It’s another story, ask and I’ll tell!) it should look a lot like the toolbar above. Click on the dropdown arrow next the purple RW icon (see arrow above). Choose General Options:
Here you can change how Read and Write appears to you. I personally like the Professional toolbar and small icons with text. When you have chosen how you want your toolbar to appear, click OK. Then left click AND HOLD anywhere in the toolbar and ‘drag’ it to the top of your desktop. The toolbar will ‘dock’ and stay at the top of your screen. That’s it! Read & Write is ready to go!!

Wait, you don’t know how to use Read & Write? Just click on the little dropdown arrow next to each icon and watch the short video, it’s that simple. The video will open and give a demonstration on how that particular function works. It’s really THAT simple!
A training guide which explains in more detail the complete functions of Read & Write, as well as several other quick help documents are available from TextHelp, the makers of Read & Write.

